Other Peoples' Karts...
built built using some information and inspiration on this Kartbuilding website and their own Initiative.
Due to the wealth of information provided by some people, I have put all their photos and information into a separate page.
Page 0: Pictures and Specifications of Making a 110cc Offroad Kart which looks particularly well.
Page 3: More recent Photos of various karts etc. that I have recieved over the past while.
Page 5: Pictures of another Karting Project which was started.
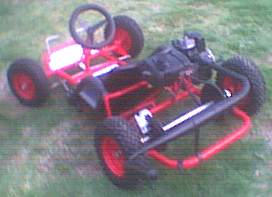
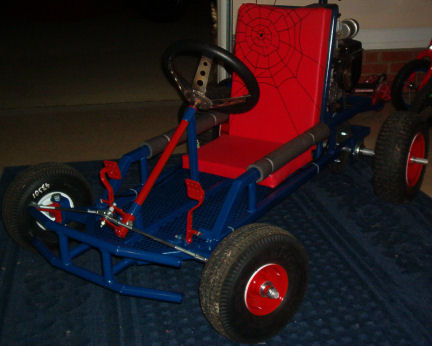
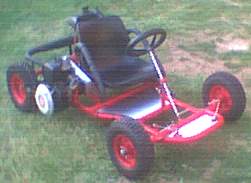
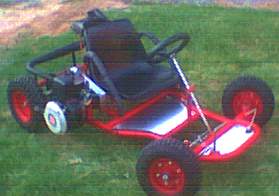
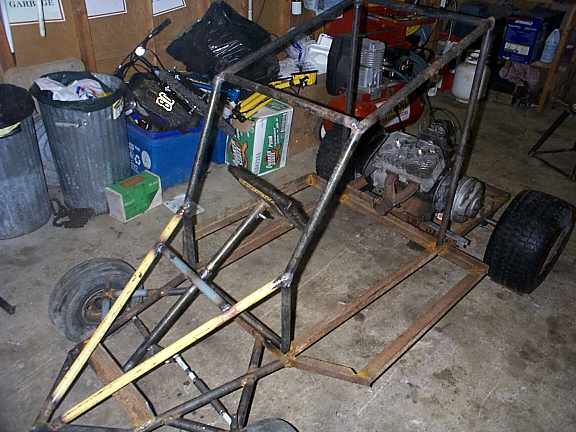
There is no real information going with these photos, they speak for themselves. one can get the idea of the work and engineering required in order to design, make and build a working Kart.
Making an Electric Vehicle/ Kart - A Personal Project of a student as part of the requirements of his educaional course. There are no plans, however some pictures and a detailed write-up on making and builidng karts.

Before and After an Engine Change - "What a difference! It goes like a scalded CAT."
Before:
AFTER:
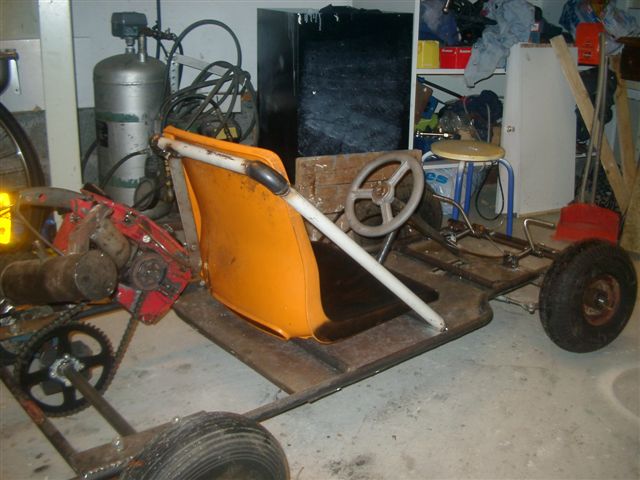
Even More Latest Photos:

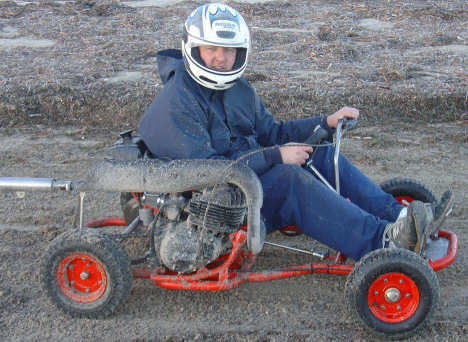
Nice wheel choice, not too big or too small and look as if they
shouldn't wear out too quickly. Nice twin exhaust engine, if I can recall
correctly, that is a 250cc motorbike engine, ideal for off-road.
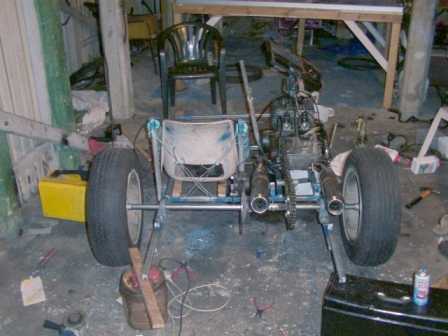
You can see the
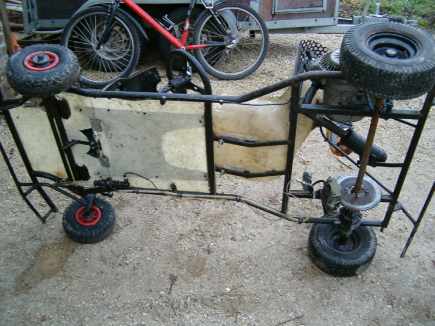
"Pillar Bearings" used for mounting the rear axle on the photo above.
These are very very useful and easy to use. Simply place onto the rear axle
(which will just be a solid steel bar) and tighten/ secure in the correct
position on the rear axle using two "Grub Screws". These "Pillar
Bearings" are then simply bolted to the chassis, or instead of drilling a
hole through the chassis for an 8mm bolt, weld a small length of angle iron to
the chassis and in turn bolt the Pillar Bearing to this Angle Iron. (All
this is described in the "Advanced Kart Plans" section on this
website.)
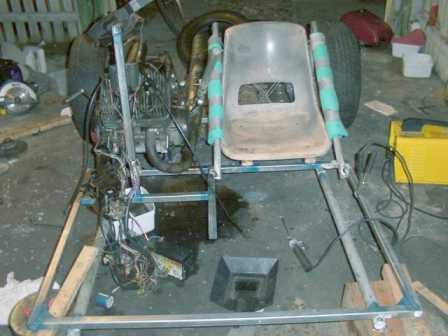
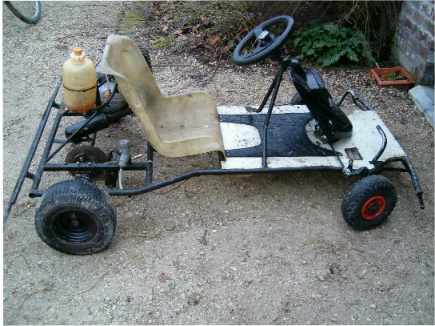
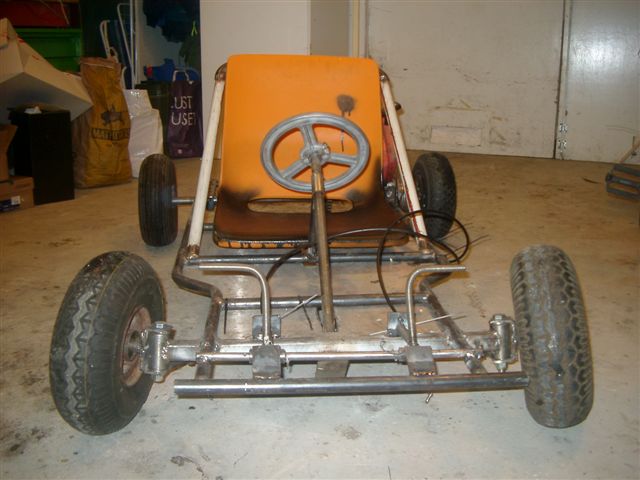
The above photo showing how the typical plastic chair can be
adapted to provide a snug fitting Kart seat with good side support for hard
cornering. Pipe insulation is used in order to pad the two side members on
either side of the plastic seat. (All
this is described in the "Advanced Kart Plans" section on this
website.)
If you look closely you will observe the typical ball of wiring
(wiring loom) that comes with motorbike engines. It is so easy to connect a
wrong wire and blow some fuse or worse the electronic ignition as happened in my
case. Most of the wiring can be eliminated altogether only having the essential
few wires for the ignition.
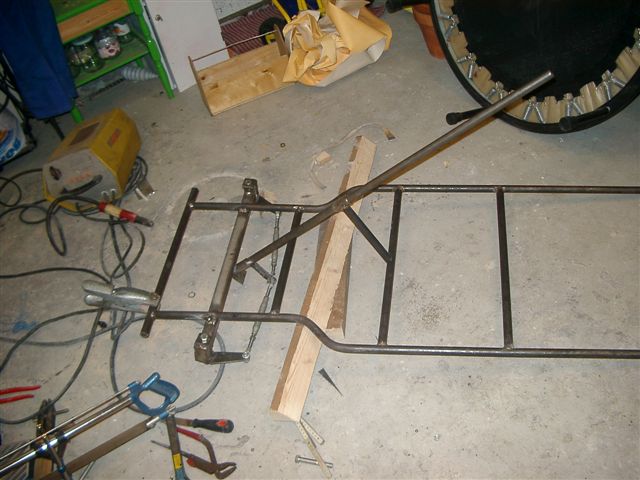
A welder and a mini angle-grinder are invaluable pieces of kit, essential for bodging and handy work. Make sure to have chassis supported level and even when welding any members onto the chassis. A careful few minutes will avoid some bad cornering/ handling of the chassis.

Again, the handy use of a grinder to open/ adjust a few links in
the chain. A proper "Chain Splitter" can be obtained, however for a
once off job it is a tad costly.
Watch out for them sparks! They don't glow
red/ yellow for no reason. Also try and use Safety Goggles, as the inevitable
will happen and your eyes get a lump of metal stuck inside them.
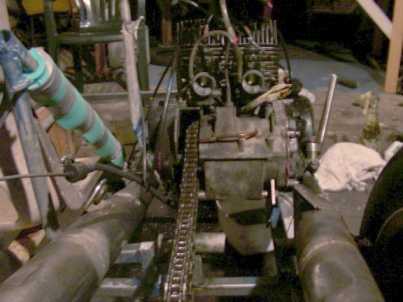
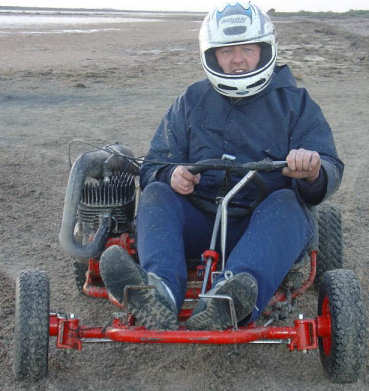
A nice twin carb. engine. Notice too how the exhausts can be awkward and cause many a headache when building the kart. I had trouble with my own and as one can see from my completed Racing Kart, the exhaust is nearly sticking out the back of my kart. They do however keep the noise down, and if it's a two stroke engine, doing away with the proper exhaust is disastrous on the engine, as it will not perform well. Exhausts although big and bulky are especially needed on two-stroke engines.
There will be more information on the above Kart when I get the chance.
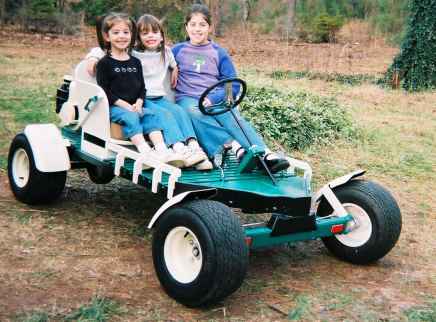
I'm sure a lot if work went into this kart. It looks fairly chunky with them bigfoot wheels. (off a golf kart I think) This kart is well finished. I have to say that my karts when I finish with them are rough machines. This is well finished and is user friendly. A nice roll cage would finish off that type of kart to a "T" making it look invincible.
Well that's all the photos and pictures I have so far. If you have any yourself, mail them to me and I will put them in this section to inspire other kartbuilders. Technical details also welcome showing bearings and methods and solutions to problems you may have had.
E-mail me any pictures etc.
to 
Best of Luck.